


I get a lot of requests for liner tutorials, so here is a quick classic: the winged eye. Step by step instructions are after the jump.

I prefer to use MAC fluidline (in either blacktrack or dipdown - I used dipdown here) and a Sonia Kashuk bent eyeliner brush. The bent shape makes it super easy and the brush is thin but dense, so you have more control of the thickness of your line. Also, I swear by fluidline - I kind of hate liquid liner - but it's completely up to you!
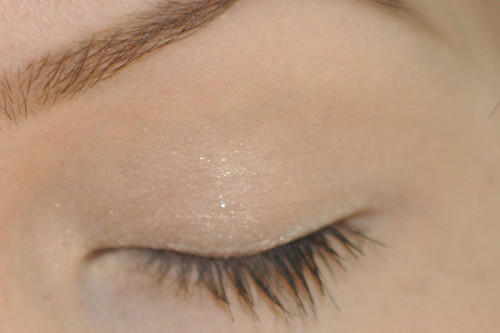
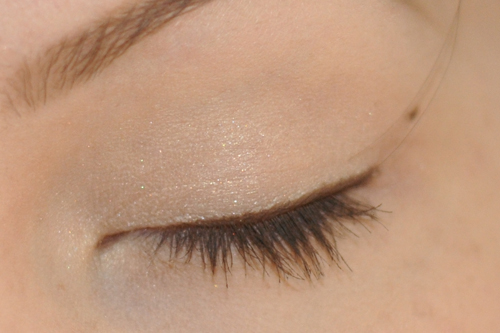
Step one: Apply primer. I used MAC bare study paint pot (not pictured), which acts as a primer.
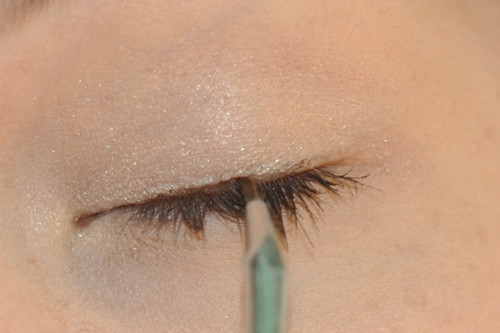
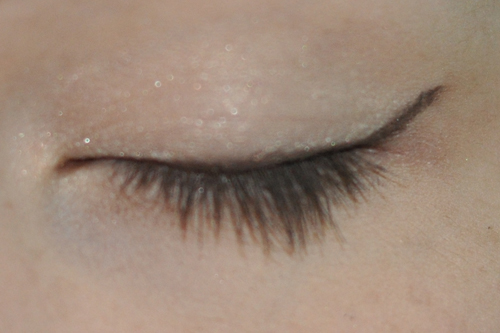
Using short, dash-like strokes, apply a thin line just above your lash line. I usually work from the outside in but did the opposite here, to show about where you should start your line. I also like to line my entire upper waterline (life your lid a little and gently line) and get between my lashes (wiggle the brush between the base of your lashes to fill any gaps). Steady shaky hands by resting your pinky on your cheek. I hold my brush like a pencil and actually rest my hand the same way I would if I was writing on paper.
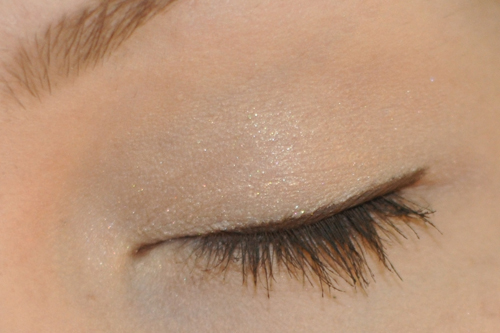
It's best to start with a thin line, because it's way easier to build it up than to make it thinner.
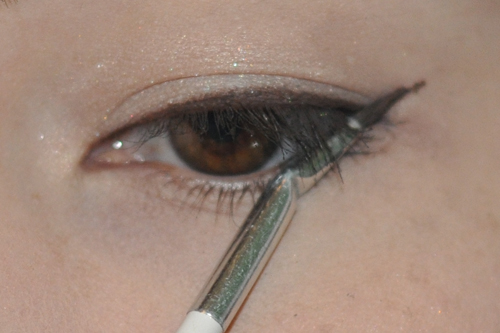
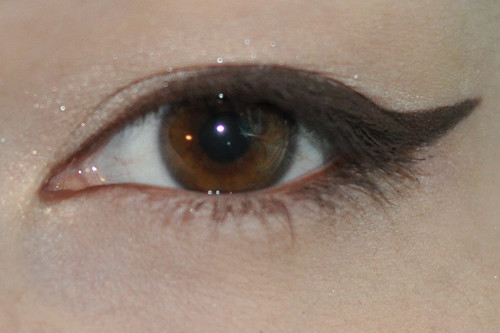
I like for my winged tip to look almost like a continuing line from my lower lash line. To find that direction, place your brush at your lower lash line, along the outer edge. Make a dot with the tip of your brush at the point where you would like the tip of the wing to end - you can make this as subtle or dramatic as you want.
Connect the dot to the outer edge of your liner.

Connect from your inner lash line to the dot in a gradual slope (this is a continuous, straight line - it just looks curved because of my eyeball is also curved). You want the line to get thicker toward the edge and diminish toward the inner lash line, so start very close to the lash line and gradually increase the thickness/incline.

0 comments:
Post a Comment